Install and configure RMP for INtime Distributed.
🔹 Install INtime Distributed
- Precondition
- 1. You must already have INtime with a dev license on a Windows PC.
2. eRMP Requires an INtime distributed license to run.
Create a Bootable USB installer
Navigate to C:\Program Files (x86)\INtime\rtos
.png)
- Right-click create_installstick.bat and run as administrator
In the terminal that appears enter the drive letter of your USB stick followed by a colon
.png)
Once the program successfully script completes you should set the renamed drive as follows.
.png)
Insert the USB into the PC you wish to install INtime distributed on and set the BIOS to boot to the USB via UEFI


- Configure your INtime distributed installation
- Warning
- Critical steps in Bold
Steps:
- Keyboard Configuration
- 0 = United States
- Disk Partition and Format
- 0 = Select the first available disk
- Do you wish to repartition the drive [y/n]?
- Would you like to use the entire disk [y/n]?
- Proceed (With Disk Format) [y/n]?
- Proceed (With Software Installation) [y/n]?
- Accept default timezone [y/n]?
- Is your BIOS clock kept in local time [y/n]?
- Is the time correct [y/n]?
- Enter mm/dd/yyyy
- currentMonth/currentDay/currentYear
- Is the time correct [y/n]?
- Select network interface for installation:
- 2 = the third NIC (DO NOT SELECT 0/first NIC it will be used be EtherCAT)
- Proceed [y/n]?
- Configure Interface ielg2 DHCP [y/n]?
- Host Name :
- Proceed [y/n]?
- Enter the IP Address of your SDK system:
- 'xxx.xxx.xx.xx' Check your the ip address of your Windows PC using 'ipconfig -all'
- Set Administrator Password Proceed [y/n]:
- n = No (Optional, no will result in password set as empty string)
- Ready to start installation... Proceed [y/n]?
- Allow the system to reboot
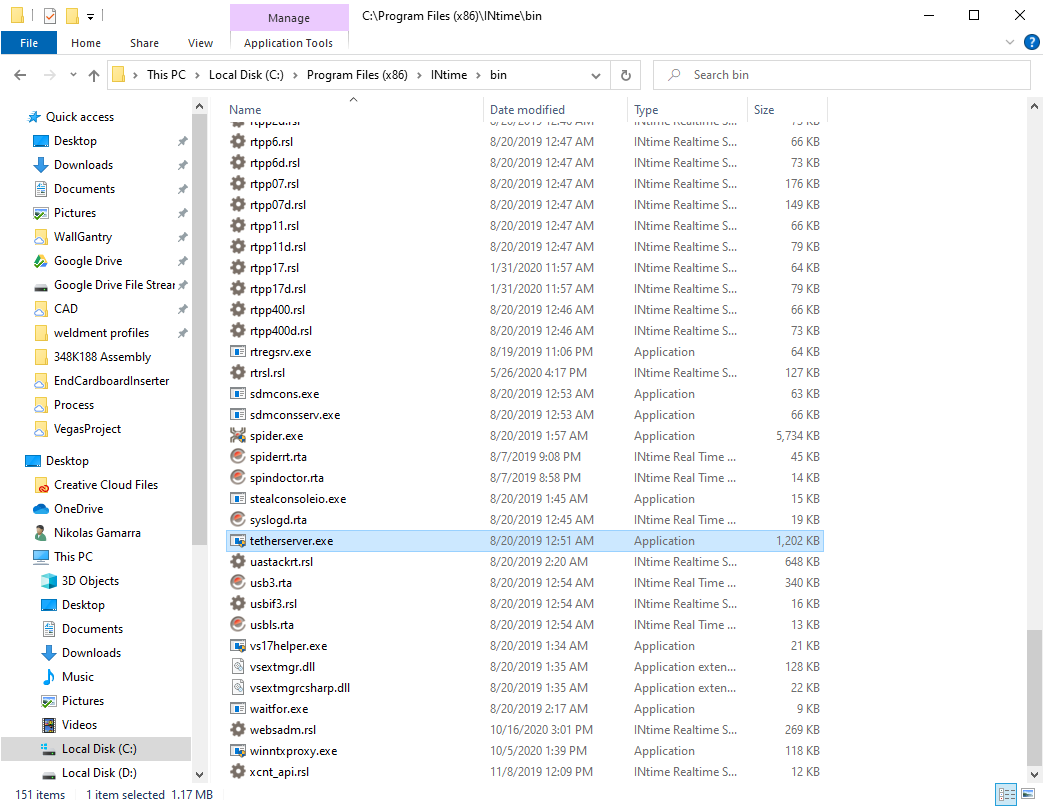
On the host PC run C:\Program Files (x86)\INtime\bin\tetherserver.exe
Verify Connection to the eRMP
You should be able to see the eRMP node in INtimeConfigurator -> NodeManagement
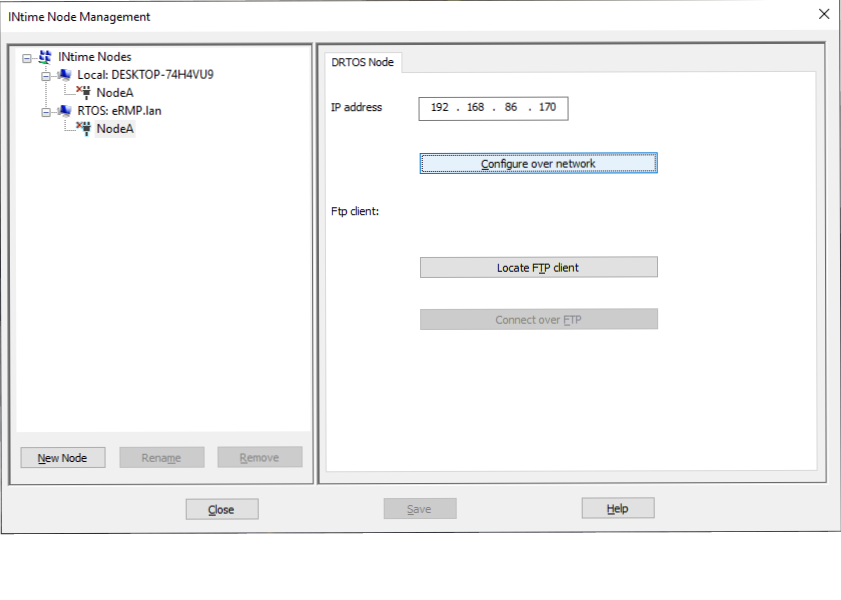
Configure your node
.png)
.png)
Make sure the INtime development environment for Visual Studio has been installed.
.png)
🔹 Configure RapidSetup
- Open C:\RSI\X.X.X\RapidSetup.exe.config
- Replace NodeA with intime://ermp.lan/NodeA
Increase the Slow, Medium, and Fast interval values (as per the image below)
.png)
Confirm RapidSetup is using the eRMP node.
.png)